
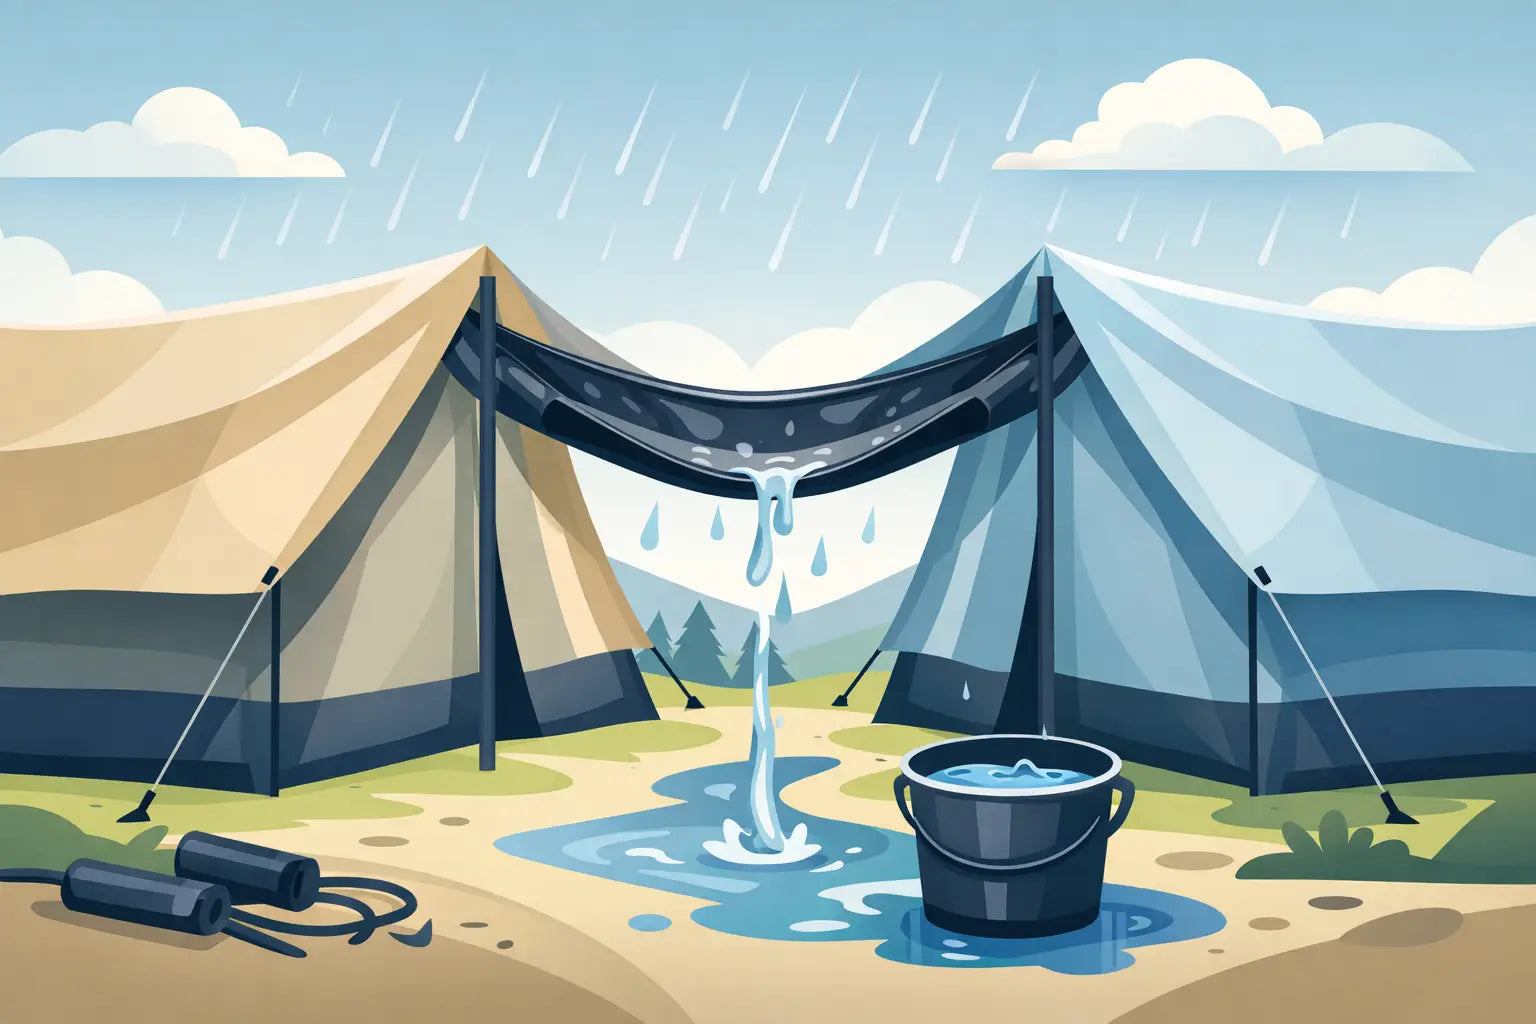
When two tent tops meet without a proper gutter system, rainwater has one predictable destination: the gap between them. That runoff can soak guests, create slippery access paths, damage flooring, and force last-minute changes to an otherwise well-planned event layout. Knowing how to install tent gutters correctly helps rental operators and event teams turn multiple tent sections into a more weather-ready temporary venue.
A tent gutter is a purpose-built rain channel installed at the junction of two compatible tent tops. It collects runoff from both roof panels and directs water toward the ends of the installation, away from entryways, seating areas, catering stations, and electrical equipment. The job is straightforward when the tents, hardware, and site conditions are planned correctly. It becomes unreliable when a gutter is treated as a universal accessory or installed after the tents have already been tensioned incorrectly.
Start With Compatible Tent Frames and Gutters
Before installation, confirm that the gutter is designed for the tent series, width, and frame profile in use. Commercial frame tents, clearspan structures, high-peak tents, and pole tents do not all use the same connection methods. A gutter made for one manufacturer’s eave geometry may not seat securely on another system, even when the tent widths appear similar.
Match the gutter length to the connected tent run and verify how it attaches. Some systems use hook-and-loop closures around the valance, while others use keder channels, clips, straps, or dedicated gutter rails. The attachment method matters because the gutter must remain stable under rain load and wind movement without pulling loose or interfering with the roof fabric.
The two tent tops should also meet at a consistent eave height. A gutter can bridge a small difference in fabric position, but it cannot correct tents that are set at noticeably different heights or have mismatched roof slopes. If the frame elevations do not align, water may bypass the channel or pool in the low section.
Inspect all components before setup. Check the gutter fabric for worn stitching, tears, stretched attachment points, or blocked end openings. For rental fleets, this inspection should be part of the return-and-prep process, not a task performed at the event site when weather is already moving in.
Plan Drainage Before You Raise the Tents
A tent gutter does not eliminate water. It controls where water goes. Plan the outlet locations before choosing the orientation of the tent layout. The ends of the gutter should discharge into a clear drainage area, not onto a guest walkway, loading lane, tent stake location, or the entrance to another structure.
Look closely at site grade. On pavement, runoff can travel quickly across the surface and collect near curbs or low spots. On grass, saturated soil may turn a discharge point into mud. If the event includes tent flooring, determine whether water leaving the gutter can migrate beneath the floor panels. A dry tent interior is only part of the goal. Safe exterior traffic flow matters just as much.
Avoid placing gutter outlets above electrical distribution, AV cable crossings, food service doors, or storage areas. For longer tent runs, install downspouts or use designated drainage extensions when the system allows. Directing a high volume of water away from the perimeter is especially important where multiple connected tents create a large combined roof area.
How to Install Tent Gutters Step by Step
Install gutters after the primary tent frames are assembled and roof tops are positioned, but before final tensioning is complete. This gives the crew enough flexibility to align the eaves without forcing the gutter into place.
1. Set and align the adjoining tent sections
Position the tent frames according to the manufacturer’s layout dimensions. The eaves should run parallel, with a consistent gap sized for the gutter system being used. Do not guess at spacing. Too wide a gap leaves an exposed channel where rain can escape; too narrow a gap can pinch the gutter and prevent proper drainage.
Raise the tent sections to the same working height and confirm that legs are vertical. If one tent is leaning or one side is lower because of uneven ground, correct that condition before attaching the gutter. Shimming, approved leveling methods, or a revised layout may be required depending on the tent system and surface.
2. Attach the gutter at one end
Begin at the drainage end you want to control most carefully. Secure the first section of the gutter to both tent valances or eave rails using the intended attachment points. Keep the fabric centered so each roof edge sheds into the channel rather than onto its outer edge.
Do not fully tighten straps or closures at the first connection. Leave enough adjustment to straighten the gutter as you work down the run. Pulling the first end too tight often creates a twist that reduces water flow farther along the channel.
3. Work along the full connection line
Attach the gutter progressively from one end to the other. Keep the channel open as you go. A correctly installed gutter has a visible trough shape, with enough depth to receive runoff from both tent tops. If the fabric is flattened between the eaves, it may overflow in a heavy rain.
For multi-section gutters, overlap or join each section according to its specified connection method. The overlap should face the direction that prevents flowing water from reaching an exposed seam. In practical terms, the upper section should lap over the lower section in the direction of drainage, much like roof shingles. This detail prevents water from finding its way through the joint.
4. Establish a controlled slope
Most tent gutters need a gentle, continuous fall toward their discharge point. The amount of slope depends on the gutter design, tent length, and expected runoff, but the objective is consistent: no low pockets that hold water. A level-looking gutter can still sag once rain begins to collect.
Make small adjustments at the tent legs, eave attachments, or approved gutter supports to create drainage. Do not create a sharp drop that pulls the gutter away from one tent or places uneven stress on the fabric. On long installations, a middle support point or multiple planned drain locations may be necessary.
5. Final-tension the tents and recheck the channel
Once the gutter is attached and aligned, complete tent tensioning according to the tent manufacturer’s procedure. Recheck the attachment points after tensioning because roof fabric movement can change the position of the valance. The gutter should remain centered, open, and firmly connected along the entire span.
At this stage, inspect the outer tent perimeter as well. Proper anchoring is non-negotiable. Gutters add surface area and can catch wind if they are loose. Follow the tent manufacturer’s anchoring requirements and local site rules for stakes, ballast, or engineered anchoring plans.
Test the System Before Guests Arrive
A controlled water test is the fastest way to identify installation problems. Use a hose to introduce water near the highest end of the gutter, then watch how it moves through the channel. Water should travel to the selected outlet without spilling over the sides, leaking through connections, or standing in low spots.
If water pools, adjust the slope before the event begins. If water escapes between the roof edge and gutter, realign the attachment points or confirm that the tents are set at the correct spacing. Do not try to solve a compatibility issue with tape, improvised rope, or hardware that was not designed for the tent fabric and frame. Those temporary fixes can damage equipment and create a failure point under wind or rain load.
Testing also shows whether the drainage area can handle the flow. If the outlet creates a puddle immediately, add a suitable extension, redirect the discharge path, or revise the site traffic plan. This is particularly valuable for weddings, festivals, and corporate events where guests may be moving between connected tent spaces throughout the day.
Common Installation Problems to Avoid
The most common mistake is installing a gutter between tent tops that are not truly compatible. The second is ignoring eave alignment. Even a premium gutter will not perform well if one tent roof sits higher, farther away, or at a different pitch than the adjoining section.
Another frequent issue is over-tensioning the gutter. It should be secure, but it also needs enough formed depth to carry water. A gutter pulled drum-tight may look neat during dry setup and overflow as soon as runoff reaches it. Conversely, a loose gutter can sag, flap, and collect water in the middle.
Do not overlook the end of the system. Water that exits directly onto a path can create a more immediate hazard than water entering the gap between tents. Keep drainage routes clear through the full event period, especially after site crews move equipment, add temporary fencing, or install décor near the tent perimeter.
Keep Gutters Ready for Repeat Use
After an event, remove debris, rinse out dirt, and allow gutter fabric to dry completely before folding and storing it. Wet storage encourages mildew and can weaken fabric coatings over time. Inspect closures, clips, keder edges, and seams while the equipment is being packed so replacement parts can be ordered before the next deployment.
For operators building or expanding a commercial tent inventory, standardizing tent series and accessory packages makes connected installations faster and more reliable. Keeping compatible gutters, sidewalls, anchoring equipment, flooring transitions, and replacement hardware together reduces last-minute sourcing problems. Special Event Sales can help professional buyers evaluate commercial tent accessories that fit the operational demands of their fleet.
A properly installed tent gutter is a small component with a large effect on guest comfort, safety, and event continuity. Treat it as part of the tent system rather than an afterthought, and every connected tent layout will be better prepared when the forecast changes.


